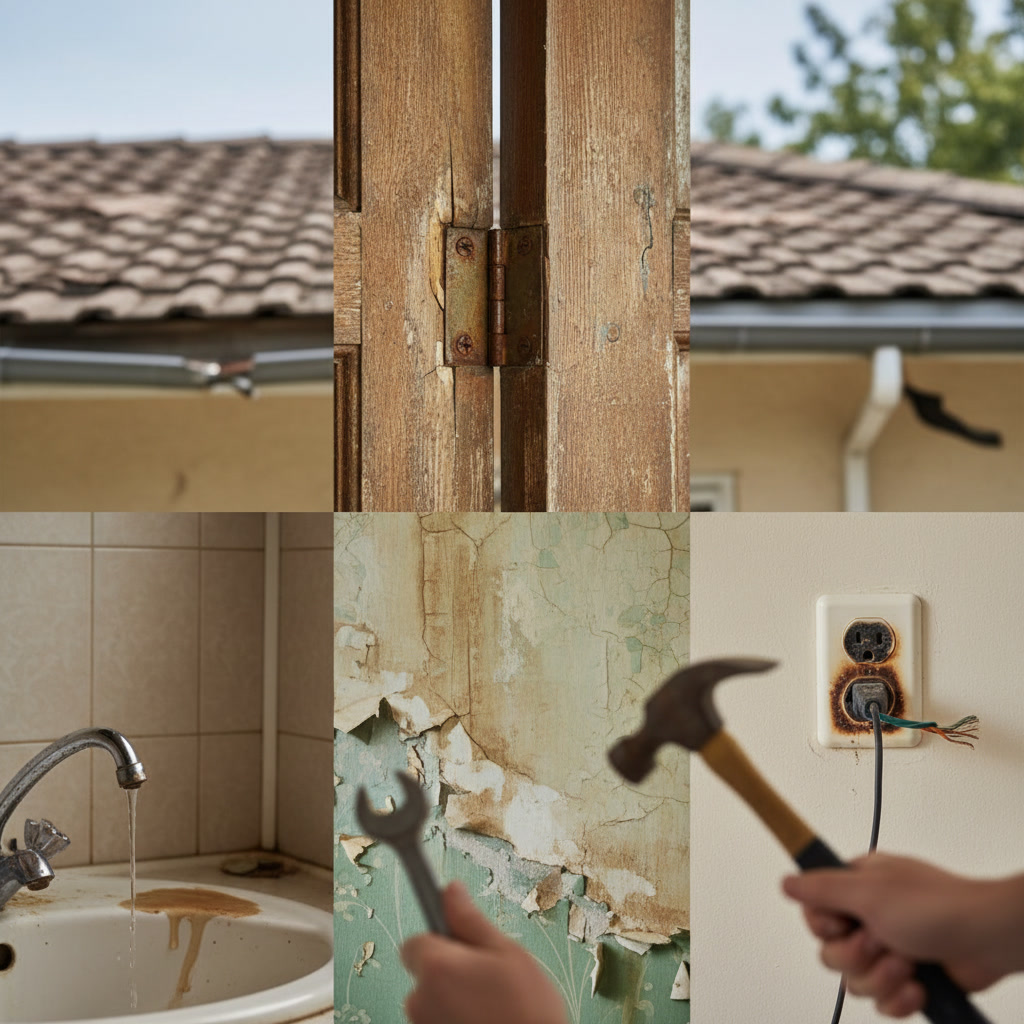
Baseboards and trim take a beating from everyday life, whether from furniture scuffs, pet damage, water exposure, or simple wear over time. To repair damaged baseboards effectively, you’ll need to assess the extent of the damage, choose the right repair method (filling, patching, or replacing sections), and finish the surface so it blends seamlessly with the rest of the room. Most minor to moderate baseboard damage can be fixed with basic tools and materials in a few hours.
Why Baseboards and Trim Matter More Than You Think
Baseboards serve a practical purpose beyond decoration. They protect your walls from vacuum cleaners, mops, and foot traffic while covering the joint where your floor meets the wall. Trim around doors and windows creates a finished look and hides gaps in construction. When these elements are damaged, your home looks neglected, and the underlying wall or floor structure may be exposed to moisture or pests.
Addressing baseboard damage quickly prevents small problems from becoming expensive repairs. A small crack can allow moisture behind the board, leading to mold growth or wall damage. Similarly, gaps created by warped trim can reduce your home’s energy efficiency by allowing drafts to enter.
Common Types of Baseboard and Trim Damage
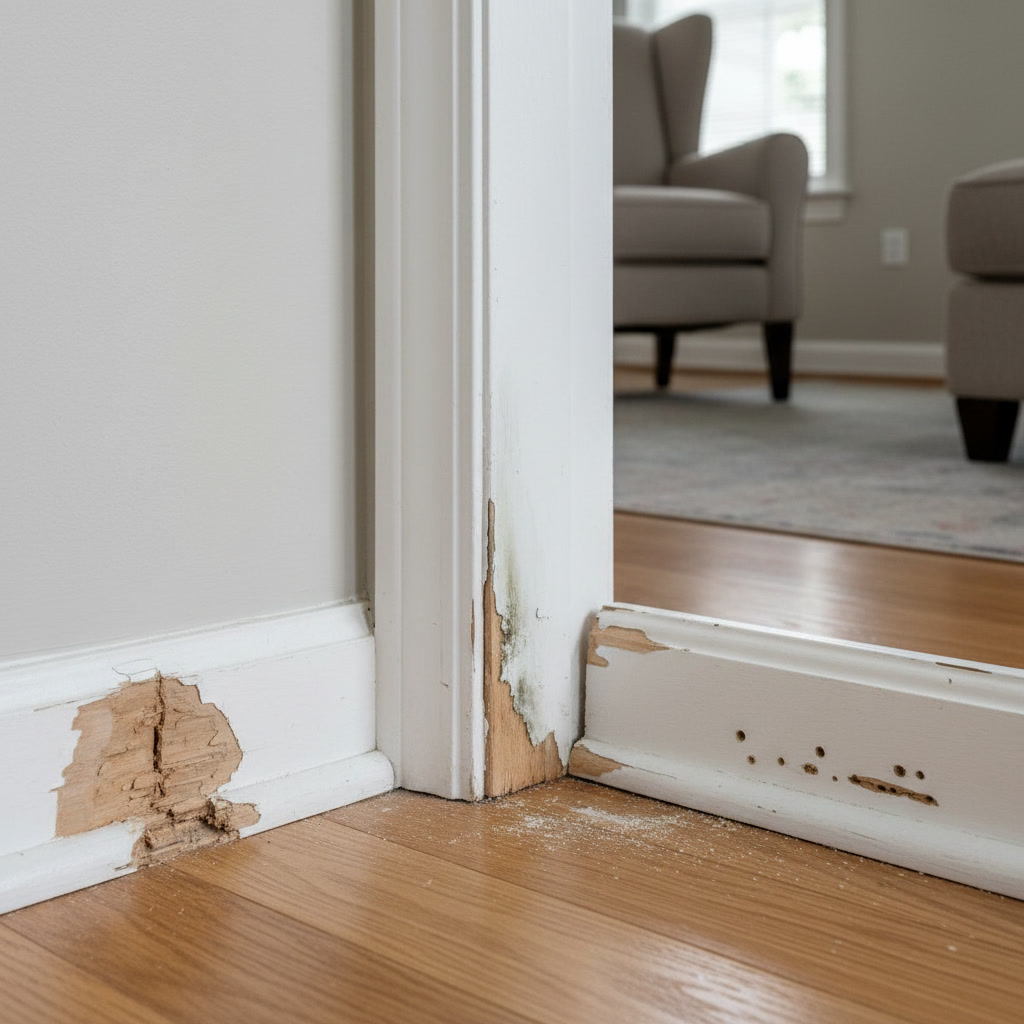
Understanding what caused the damage helps you choose the right repair approach. Gouges and dents typically result from moving furniture or accidental impacts. These create visible depressions in the wood or MDF material. Water damage shows up as swelling, discoloration, or soft spots, often near bathrooms, kitchens, or exterior walls.
Cracks and splits develop when wood dries out or experiences temperature changes. Pet damage includes chew marks and scratches, usually concentrated in corners or along edges. Nail pops occur when the fasteners work loose over time, creating small holes or causing the board to pull away from the wall.
Tools and Materials You Need for Baseboard Repairs
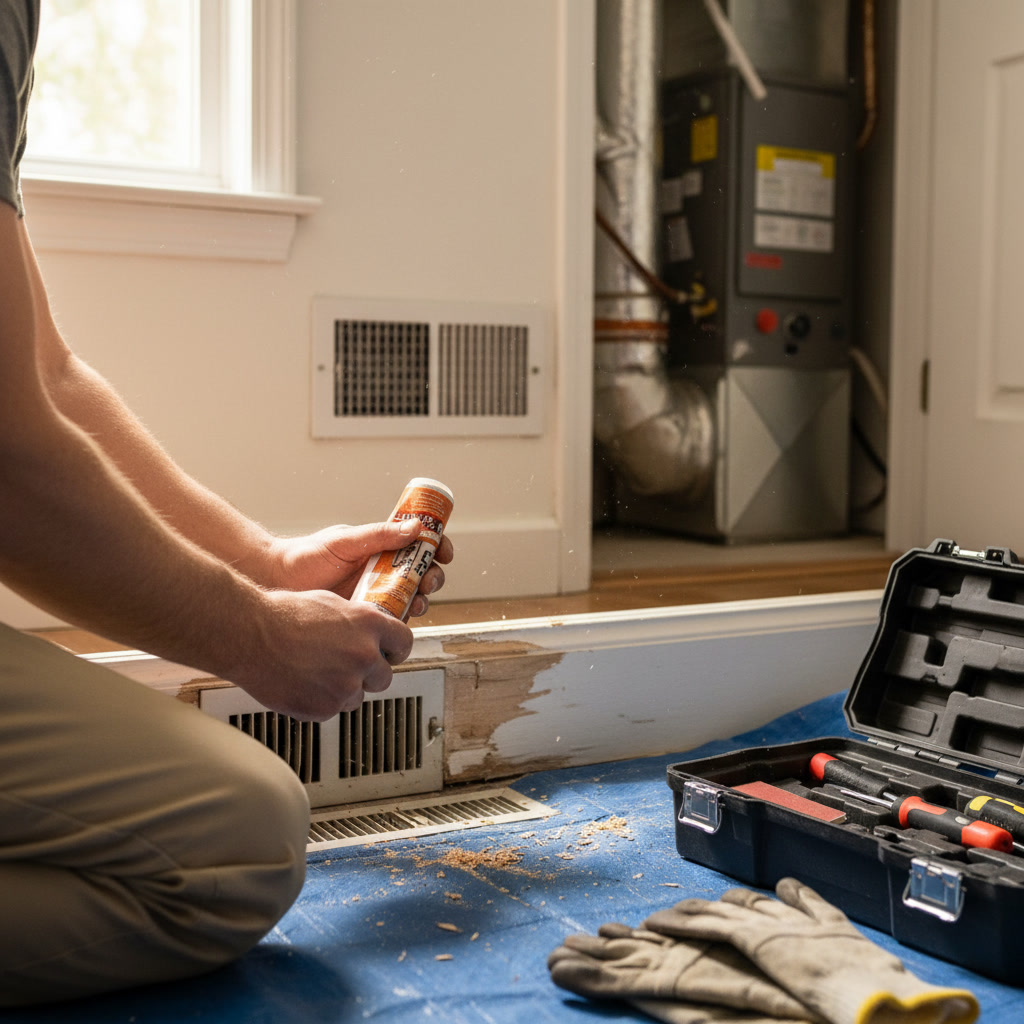
For basic repairs, gather wood filler or spackle designed for trim work, fine-grit sandpaper (120 to 220 grit), a putty knife, primer, and paint that matches your existing trim. Keep a damp cloth handy for cleanup. If you’re replacing sections, you’ll also need a miter saw or hand saw, measuring tape, new baseboard material matching your existing profile, finish nails, a nail set, and wood glue.
Professional-grade wood filler sets hard and can be sanded smooth, making it ideal for high-traffic areas. Standard spackle works for minor cosmetic fixes but may crack under stress. For larger repairs, consider using a two-part epoxy wood filler that bonds extremely well and resists shrinking.
Step-by-Step Process to Fill Minor Damage
Start by cleaning the damaged area with a damp cloth to remove dust and debris. Let it dry completely. Apply wood filler with a putty knife, pressing it firmly into the gouge or crack. Overfill slightly, as most fillers shrink as they cure. Smooth the surface as much as possible during application to reduce sanding time later.
Allow the filler to dry according to the manufacturer’s instructions, typically two to four hours. Sand the area with 120-grit sandpaper until it’s flush with the surrounding surface, then finish with 220-grit for a smooth texture. Wipe away sanding dust with a tack cloth or slightly damp rag.
Prime the repaired spot with a quality primer designed for trim work. This prevents the filler from absorbing paint differently than the surrounding wood. Once the primer dries, apply two thin coats of paint, allowing each to dry fully. Thin coats prevent drips and create a more professional finish than one thick coat.
How to Replace Damaged Baseboard Sections in Wolfforth Homes
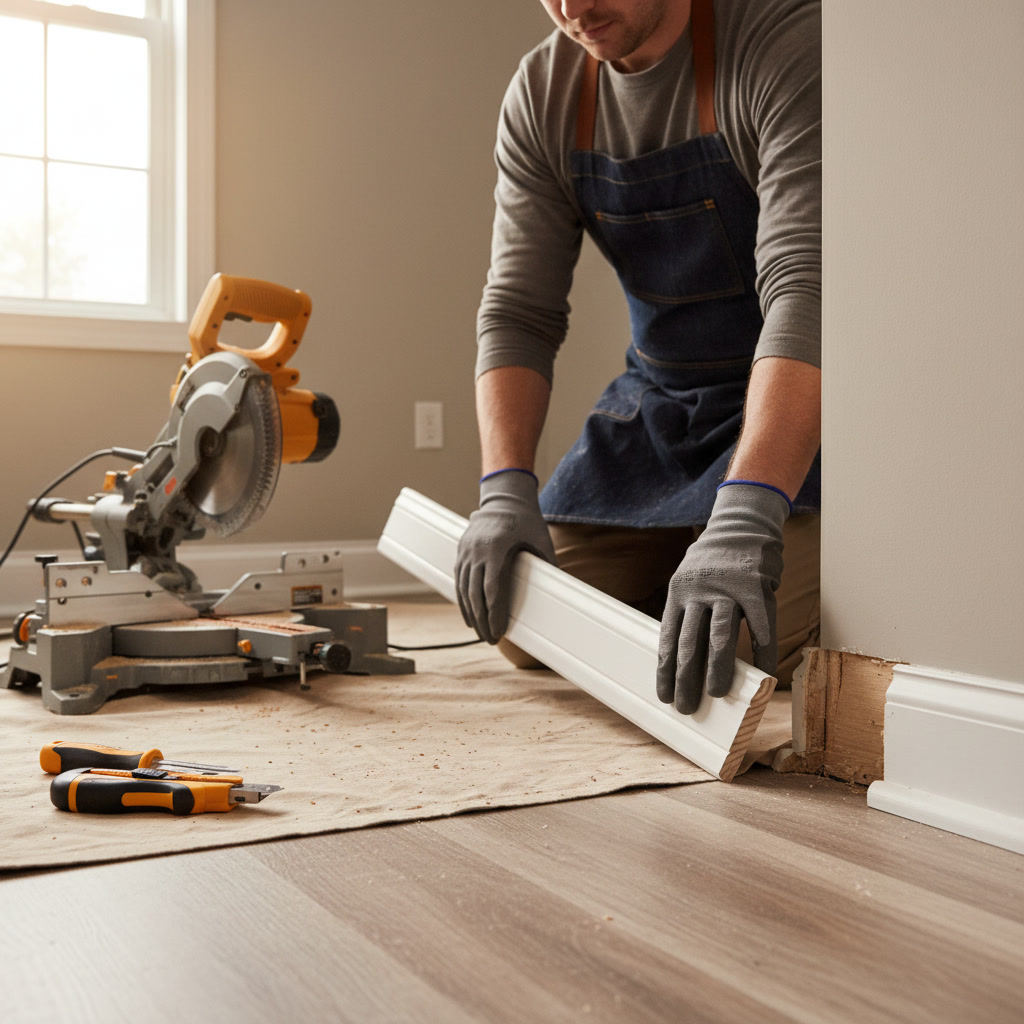
When damage is too extensive to fill, replacement becomes the better option. Start by carefully removing the damaged section. Use a utility knife to score the caulk line where the baseboard meets the wall. This prevents paint from tearing when you pry the board away. Gently insert a pry bar behind the baseboard, working along its length to loosen it without damaging the wall.
Measure the gap left behind and cut a new piece of baseboard to fit, using a miter saw for clean, precise cuts. Inside corners typically require a coped joint, where you cut the profile of one piece to fit against the face of another. This creates a tighter joint than simple miter cuts and handles wall irregularities better.
Test-fit the new section before applying adhesive. Apply a thin bead of construction adhesive to the back of the baseboard, then press it firmly against the wall. Secure it with finish nails spaced every 16 inches, angling them slightly downward to catch the wall’s bottom plate. Use a nail set to countersink the nail heads slightly below the surface.
Fill the nail holes with wood filler, let dry, then sand smooth. Caulk any gaps between the baseboard and wall with paintable acrylic caulk, wiping away excess with a damp finger for a clean line. Prime and paint to match your existing trim.
Fixing Water-Damaged Baseboards Before They Get Worse
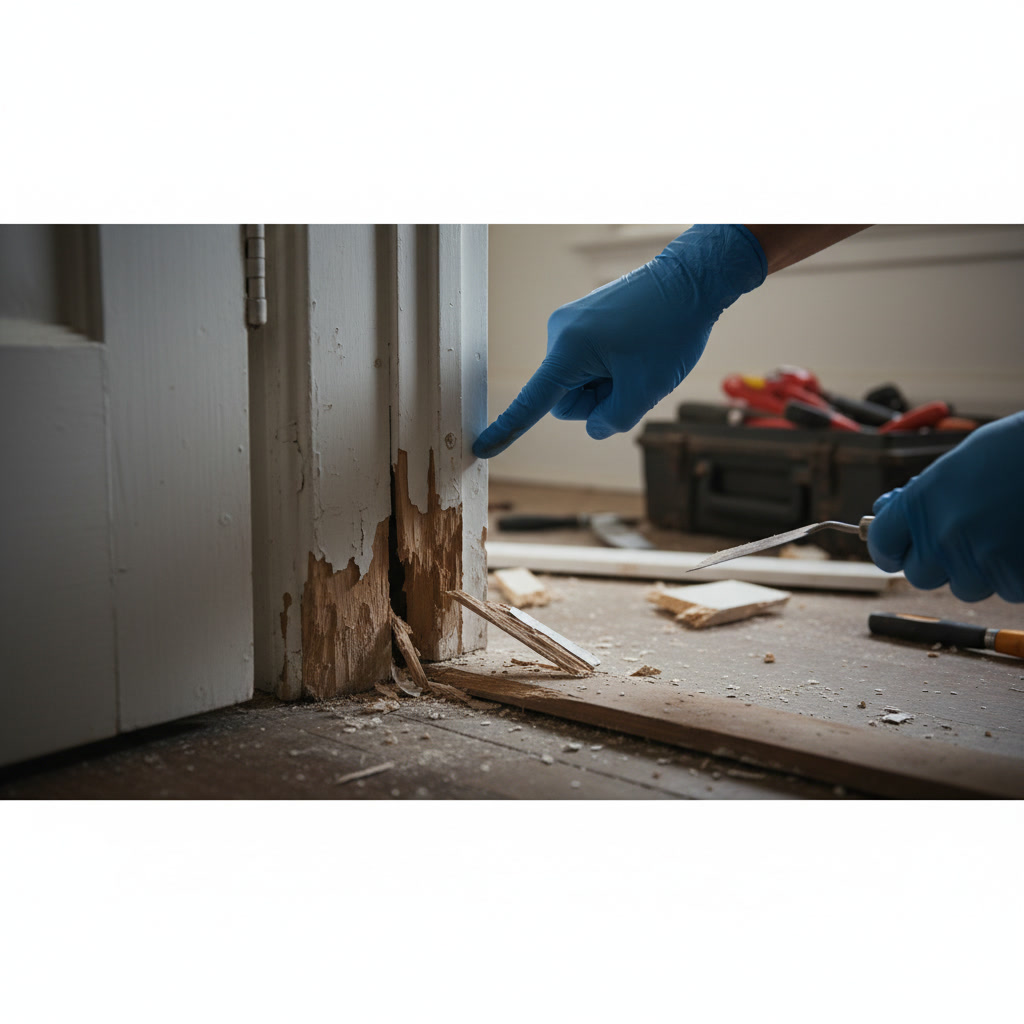
Water damage requires a different approach because the material itself has often deteriorated. If the baseboard feels soft or spongy, it must be replaced. No amount of filler will restore structural integrity to rotted wood or swollen MDF. Remove the damaged section completely and check the wall behind it for moisture or mold.
Address the source of the water before installing new baseboard. A leaking pipe, condensation from an HVAC system, or poor ventilation must be fixed first. Homes with ongoing moisture issues may benefit from professional solutions. Many homeowners don’t realize that proper climate control reduces humidity that damages trim, and a well-maintained heating and air system plays a key role in protecting interior woodwork.
Once the moisture source is resolved and the area has dried completely, install new baseboard using the replacement method described earlier. Consider using primed MDF or PVC trim in areas prone to moisture, as these materials resist water damage better than solid wood.
Repairing Pet Damage to Trim and Baseboards
Pet damage often involves multiple small gouges, scratches, or chew marks concentrated in one area. For shallow scratches, wood filler works well. Deeper damage may require a two-part epoxy filler that you can shape and sand to recreate the baseboard’s profile.
Apply the epoxy in layers if the damage is deep, allowing each layer to partially cure before adding more. This prevents sagging and gives you better control over the final shape. Once fully cured, use a sanding block to reshape the profile, checking your work frequently against an undamaged section of baseboard.
To prevent future damage, consider installing corner guards or applying bitter-tasting deterrent sprays designed for woodwork. Training and providing appropriate chew toys also help, but sometimes the simplest solution is installing more durable trim in areas your pet targets.
When to Call a Professional for Trim Repairs
Some situations call for professional help rather than a DIY approach. Extensive damage covering multiple rooms or entire walls takes significant time and skill to repair correctly. If your baseboards are ornate or feature custom profiles, matching and installing replacements requires specialized tools and experience.
Structural issues behind the baseboard, such as wall damage, electrical problems, or plumbing leaks, need professional assessment. Attempting cosmetic repairs without addressing underlying problems wastes time and money. Professional handyman services can identify and fix these issues during the same visit.
Historic homes or properties with original woodwork benefit from expert care. Improper repairs can reduce property value and destroy irreplaceable craftsmanship. Professionals understand period-appropriate techniques and materials that preserve character while ensuring durability.
Painting and Finishing Techniques for Seamless Results
The difference between an obvious repair and an invisible one often comes down to finishing technique. After priming, use the same paint sheen as your existing trim. Mixing paint from multiple cans in a larger container ensures color consistency across the entire project.
Apply paint with a high-quality angled brush for control around edges and details. Work in the direction of the wood grain when possible. Two thin coats always look better than one thick coat, with less chance of drips, sags, or visible brush marks.
For the best color match on existing trim, bring a small piece of your baseboard to the paint store for computer color matching. If that’s not possible, paint the entire length of baseboard in that room rather than just the repair, as even slight color variations stand out when placed next to older paint.
Preventive Maintenance to Protect Your Baseboards
Regular cleaning prevents buildup that can hide developing problems. Wipe baseboards monthly with a slightly damp cloth to remove dust and grime. Inspect for new damage during cleaning so you can address issues while they’re still minor.
Maintain consistent indoor humidity between 30 and 50 percent to prevent wood from expanding and contracting excessively. This reduces cracking and warping. A properly functioning HVAC system helps regulate humidity naturally. Seasonal system tune-ups ensure your equipment runs efficiently year-round, protecting both your comfort and your home’s interior finishes.
Use furniture pads under chair and table legs to prevent gouges when moving items. Install door stops to keep handles from hitting baseboards. These simple precautions eliminate most common causes of trim damage.
Protecting Your Investment with Quality Repairs
Well-maintained baseboards and trim preserve your home’s value and appearance. Whether you tackle repairs yourself or hire a professional, addressing damage promptly prevents more expensive problems down the road. The techniques outlined here work for most common baseboard issues, from minor scratches to water damage requiring replacement.
Remember that your home’s systems work together to create a comfortable, protected living space. Climate control affects everything from air quality to the condition of your woodwork and finishes.
Spectrum Heating & Air LLC provides comprehensive solutions for West Texas homeowners, from HVAC services that protect your home’s interior to handyman repairs that keep everything looking its best. If your baseboard damage is extensive, connected to moisture problems, or beyond your comfort level to repair, our experienced team serves Lubbock and surrounding communities with honest pricing and quality workmanship. Reach out at +18062412335 to discuss your project and schedule a convenient service appointment.