Weather stripping creates an airtight seal that blocks drafts, reduces heating and cooling costs, and improves indoor comfort. Installing it yourself is straightforward with the right materials and a few basic tools. When you install weather stripping properly around doors and windows, you can cut energy waste by up to 20 percent while making your home more comfortable year-round.
Why Air Leaks Around Doors and Windows Cost You Money
Small gaps around doors and windows let conditioned air escape while pulling in outdoor temperatures, dust, and moisture. During summer in West Texas, hot air seeps inside and forces your air conditioner to run longer. In winter, heated air escapes through the same cracks. The result is higher utility bills every month and uneven temperatures from room to room.
Most homeowners can identify problem areas by holding a lit incense stick near door frames and window sashes on a windy day. The smoke will bend or stream toward gaps that need sealing. These leaks not only waste energy but also reduce the lifespan of your HVAC system by making it work harder than necessary.
How Weather Stripping Improves Home Comfort and Efficiency
Properly applied weather stripping fills the spaces that let air escape. It forms a flexible barrier that compresses when a door or window closes, creating a tight seal without interfering with normal operation. This keeps indoor temperatures stable, reduces noise from outside, and prevents pests from entering through small openings.
Beyond immediate comfort, sealing air leaks complements other energy efficiency solutions like programmable thermostats and updated insulation. Together, these improvements lower your monthly energy costs and make your heating and cooling equipment more effective.
Choosing the Right Weather Stripping Material
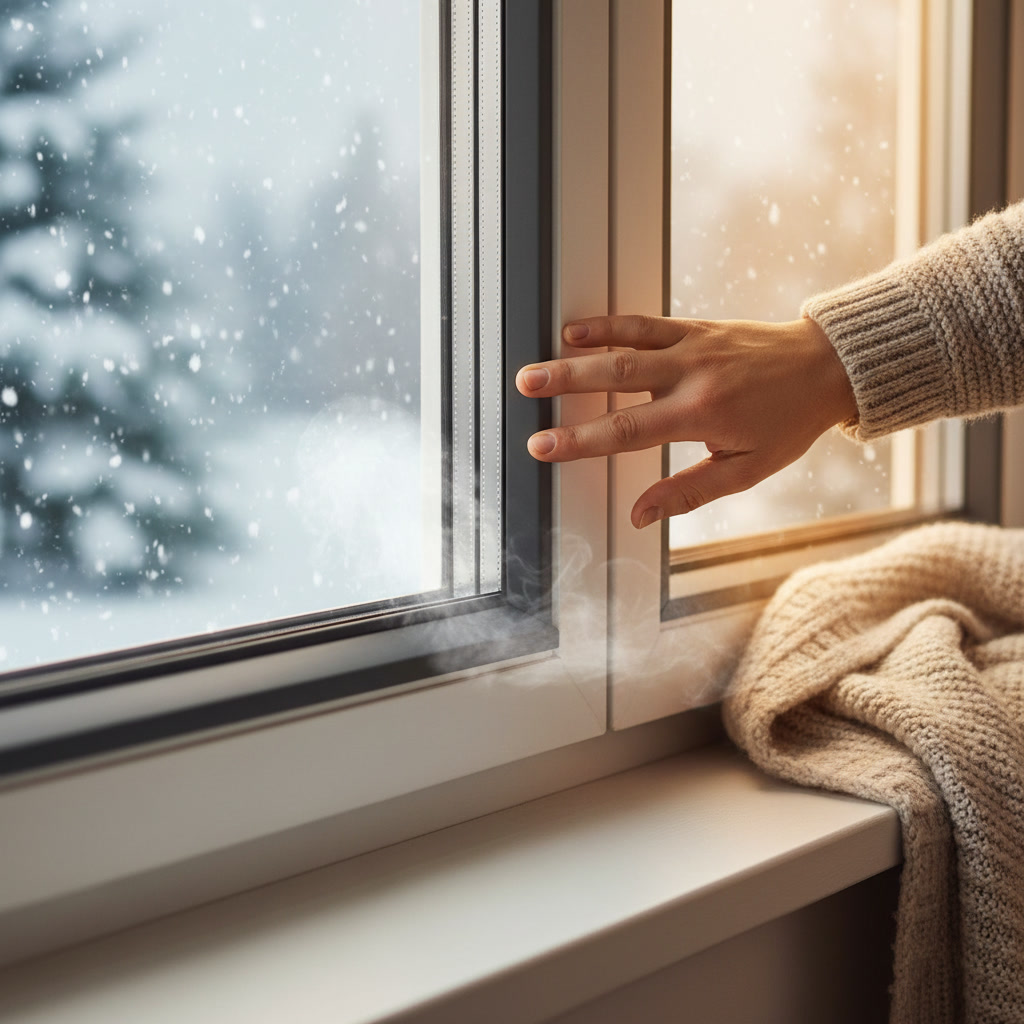
Several types of weather stripping exist, each suited to different applications. V-strip, also called tension seal, is a durable plastic or metal strip folded into a V shape. It works well for the sides of double-hung windows and the top and bottom of doors. Foam tape offers the easiest installation and costs less, but it compresses over time and may need replacing every one to three years.
Felt strips are inexpensive and simple to apply but wear out quickly in high-traffic areas. Door sweeps attach to the bottom of exterior doors and block gaps between the door and threshold. For uneven surfaces or larger gaps, tubular rubber or vinyl gaskets provide a better seal than flat foam. Choose materials rated for outdoor use on exterior doors and windows to withstand sun, rain, and temperature swings.
Tools and Supplies You Need for the Job
Most weather stripping projects require only basic hand tools. You will need a tape measure, scissors or a utility knife, a screwdriver, and a pencil for marking cut lines. If you use nail-on or staple-on strips, keep a hammer or staple gun handy. A putty knife helps clean old adhesive or dirt from surfaces before applying new material.
Purchase enough weather stripping to cover all door and window perimeters you plan to seal. Measure each opening and add 10 percent for waste and overlap. Clean the surfaces with rubbing alcohol or mild detergent and let them dry completely before installation. Dirt and moisture prevent adhesive from bonding properly.
Step-by-Step Guide to Sealing Doors in Wolfforth
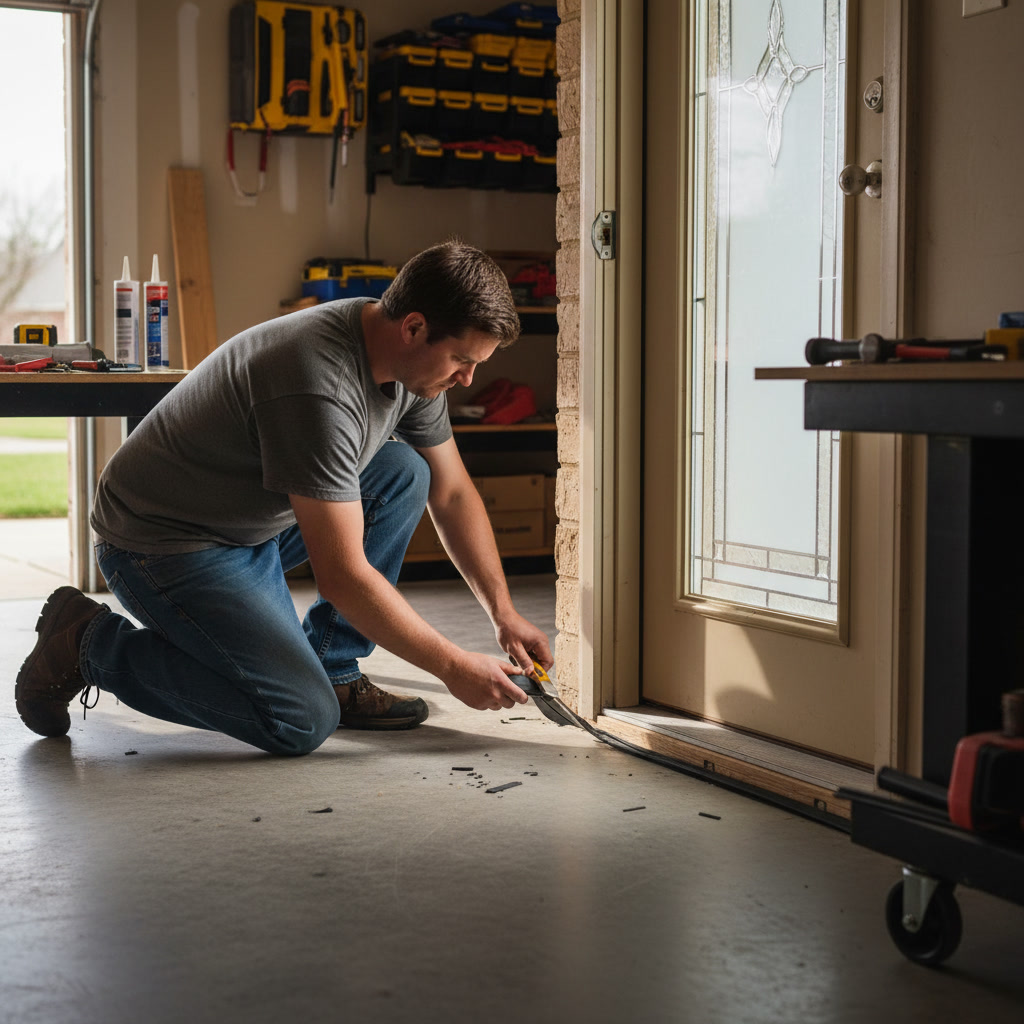
Start by measuring the height of both side jambs and the width of the top jamb on your door frame. Cut V-strip or foam tape to match these dimensions. Open the door and press the strip firmly into the channel along the doorstop, starting at the top corner and working downward. Make sure the material sits flat without buckling or leaving gaps at the corners.
For the bottom of the door, attach a door sweep to the interior side if the threshold has a raised section, or use a threshold seal that fits underneath. Position the sweep so it brushes the floor or threshold lightly when the door closes, without dragging or creating resistance. Screw the sweep into place and test the door several times to ensure smooth operation.
Check the seal by closing the door and looking for light gaps around the edges. Any visible light means air can pass through. Adjust the placement or add a second layer if needed. Properly sealed exterior doors reduce drafts and support the work your HVAC system performs to maintain indoor comfort.
How to Seal Double-Hung and Casement Windows
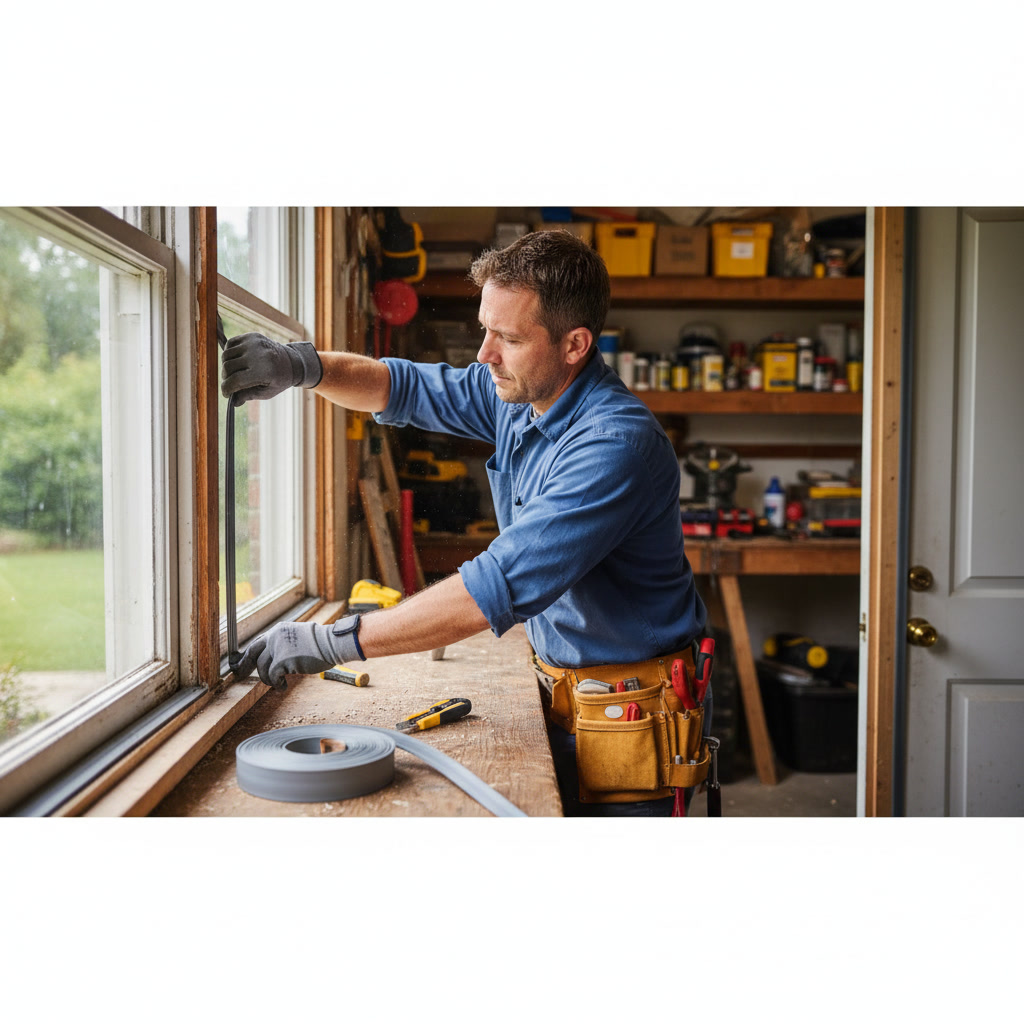
Double-hung windows have two sashes that slide up and down, creating multiple points where air can leak. Apply V-strip along the vertical channels on each side of the lower sash, with the open side of the V facing outward to catch the sash as it closes. Install another piece across the bottom rail of the lower sash and along the top rail of the upper sash.
Where the two sashes meet in the middle, attach a narrow strip of foam or felt to the top rail of the lower sash. When you close the window, this seal compresses against the bottom rail of the upper sash. Casement windows that swing open on hinges need weather stripping around the entire perimeter of the frame where the sash contacts the stop.
For sliding windows, apply V-strip or foam tape to the vertical edge of the moving panel and along the track where the bottom of the panel rides. This prevents air from entering at both the side and bottom. Regular maintenance of window hardware and periodic checks of weather stripping condition help maintain the seal over time.
Common Mistakes to Avoid During Installation
One frequent error is applying weather stripping to dirty or damp surfaces. Adhesive-backed materials will not stick to dust, old paint flakes, or moisture. Clean and dry every surface thoroughly before starting. Another mistake is using too much material in one spot, which prevents doors and windows from closing properly or causes the weather stripping to bunch and fail.
Avoid stretching V-strip or foam tape during installation. Stretched material will shrink over time and leave gaps. Measure carefully and cut to exact lengths. Do not overlap pieces at corners unless the manufacturer recommends it, because overlaps can create bumps that interfere with door and window operation.
Homeowners sometimes choose the wrong type of material for the application. Foam tape works well for low-traffic windows but degrades quickly on exterior doors that open and close many times each day. Match the durability and compression characteristics of the material to the specific location and use pattern.
When to Call a Professional for Air Sealing Help
Weather stripping handles small gaps around moving parts, but larger structural gaps require different solutions. If you notice gaps wider than one-quarter inch, uneven door frames, or warped window sashes, a professional assessment can identify underlying issues. Older homes may have settled foundations or rotted framing that no amount of weather stripping will fix.
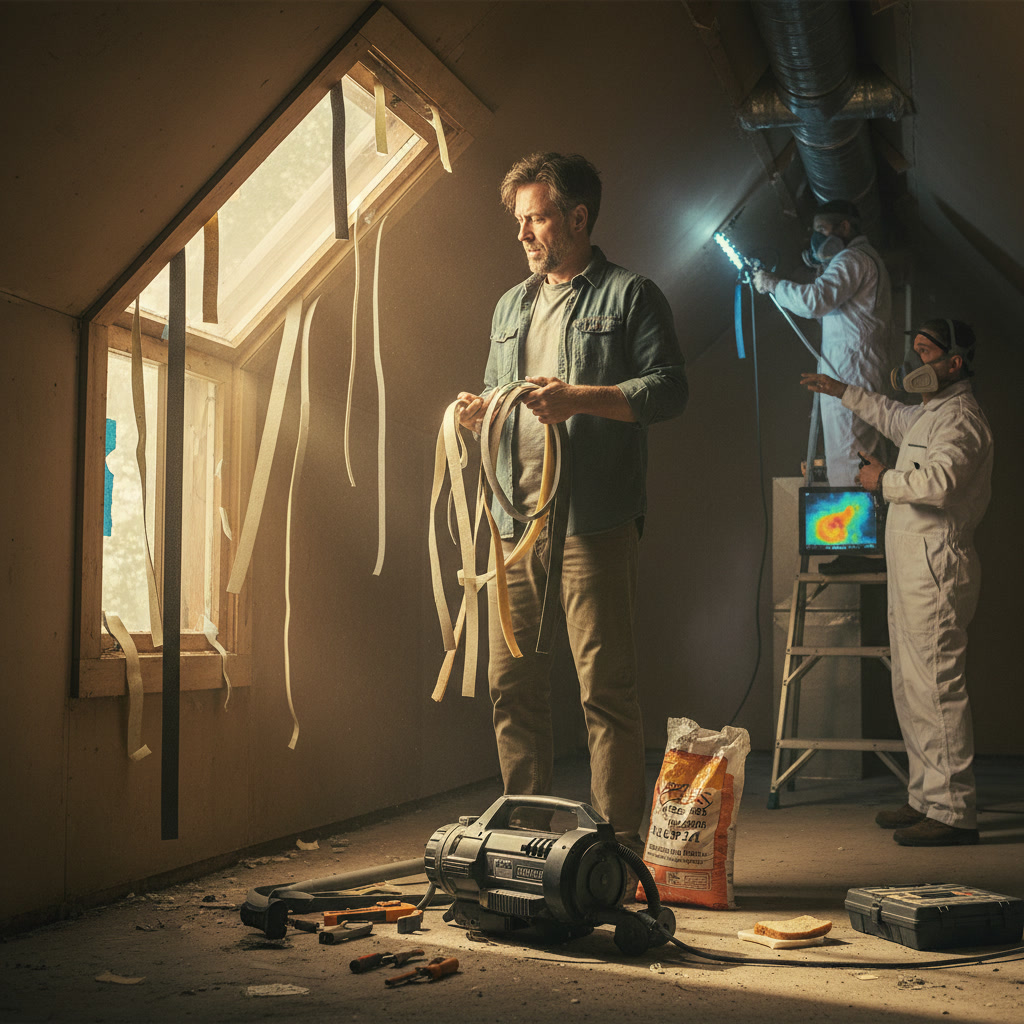
Combining weather stripping with comprehensive handyman services addresses both immediate air leaks and longer-term structural concerns. Professionals can also evaluate attic insulation, ductwork, and other areas where conditioned air escapes. Homeowners in Plainview, TX and surrounding communities often benefit from a whole-home energy audit that reveals hidden leaks and prioritizes the most cost-effective improvements.
Maintaining Your Weather Stripping for Long-Term Performance
Inspect weather stripping twice a year, ideally before heating and cooling seasons begin. Look for cracks, tears, or sections that have pulled away from the surface. Replace damaged pieces immediately to maintain an effective seal. Clean surfaces around doors and windows during routine maintenance to prevent dirt buildup that can interfere with compression.
High-quality V-strip and metal-backed materials can last five to ten years, while foam and felt may need replacement every one to three years depending on exposure and use. Keep a small supply of extra material on hand for quick repairs. Regular tune-ups of your HVAC system, combined with proper air sealing, extend equipment life and reduce repair costs over time. If you are preparing your home for seasonal changes, review handyman repairs that extend HVAC system life for additional maintenance tips.
How Weather Stripping Fits Into Broader Energy Upgrades
Sealing air leaks is one piece of a larger energy efficiency strategy. When paired with updated insulation, programmable thermostats, and modern HVAC equipment, weather stripping multiplies savings and comfort. Homeowners planning comprehensive upgrades should consider the relationship between air sealing and system sizing. Reducing air leakage may allow you to install a smaller, more efficient HVAC unit during replacement, lowering both upfront and operating costs.
For those exploring insulation options, spray foam insulation costs and benefits provide context for budgeting whole-home improvements. Each upgrade reinforces the others, creating a tighter building envelope that keeps conditioned air inside and outdoor temperatures out. Prioritize air sealing before adding insulation, because insulating a leaky home wastes money and delivers limited results.
Enjoy Lower Bills and Greater Comfort Year-Round
Sealing doors and windows with quality weather stripping cuts energy waste, stabilizes indoor temperatures, and reduces strain on your heating and cooling equipment. The project requires minimal investment and basic tools, yet delivers measurable savings every month. By taking a methodical approach and choosing the right materials for each application, you create a more efficient, comfortable home that costs less to operate.
Spectrum Heating & Air LLC supports West Texas homeowners with expert guidance on energy efficiency, HVAC performance, and home comfort improvements. Whether you need help identifying air leaks, selecting the best sealing materials, or planning a comprehensive energy upgrade, our team brings the experience and local knowledge to keep your home running smoothly. Call +18062412335 to schedule a consultation and discover how professional support can maximize your comfort and savings.