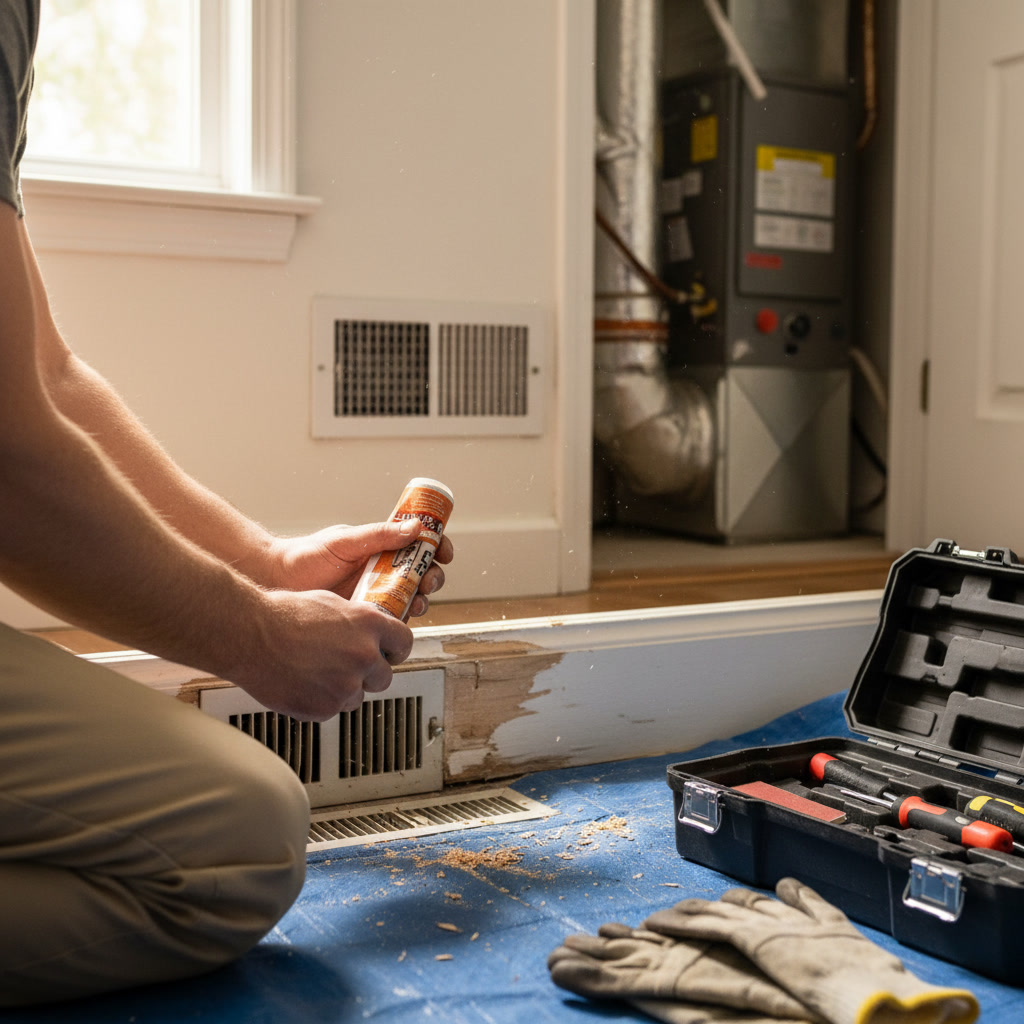

Light fixture replacement involves turning off power at the breaker, removing the old fixture, connecting the new fixture’s wires to your home’s electrical supply, and securing it to the ceiling or wall box. Most fixtures use three wires: hot (black), neutral (white), and ground (copper or green), which match to the corresponding house wires. The process typically takes 30 to 60 minutes for a straightforward swap and requires basic tools like a screwdriver, wire stripper, and voltage tester.
Why Homeowners Choose to Replace Light Fixtures
Outdated or broken light fixtures lower your home’s visual appeal and can waste energy if they’re not compatible with modern LED bulbs. Many older fixtures were designed for incandescent bulbs that draw more power and generate unnecessary heat. Switching to a newer model often improves brightness, reduces monthly electric bills, and gives rooms a fresh, updated look that appeals to potential buyers if you ever decide to sell.
Fixtures also wear out over time. Wiring can become brittle, sockets may crack, and mounting hardware loosens with vibration and temperature fluctuations. If you notice flickering lights, buzzing sounds, or visible scorch marks around the fixture base, replacement is the safest option. Continuing to use faulty fixtures increases fire risk and can damage your home’s electrical system.
When to Hire a Professional in Wolfforth
Some installations are simple enough for confident DIYers, but others demand licensed expertise. If you’re adding a completely new fixture where none existed, you’ll need to install a junction box and run new wiring through walls or ceilings, which requires knowledge of local electrical codes and often a permit. Similarly, heavy chandeliers weighing more than 50 pounds need reinforced ceiling boxes and bracing that most homeowners don’t have the tools or experience to install safely.
Homes built before 1985 sometimes contain aluminum wiring, which requires special connectors and techniques to prevent overheating at connection points. If you’re uncertain about your home’s wiring type or encounter unexpected wire colors, stop work and call a qualified electrician. Handyman Services can handle straightforward fixture swaps and other electrical tasks that don’t require extensive rewiring or code modifications.
Gathering the Right Tools and Materials
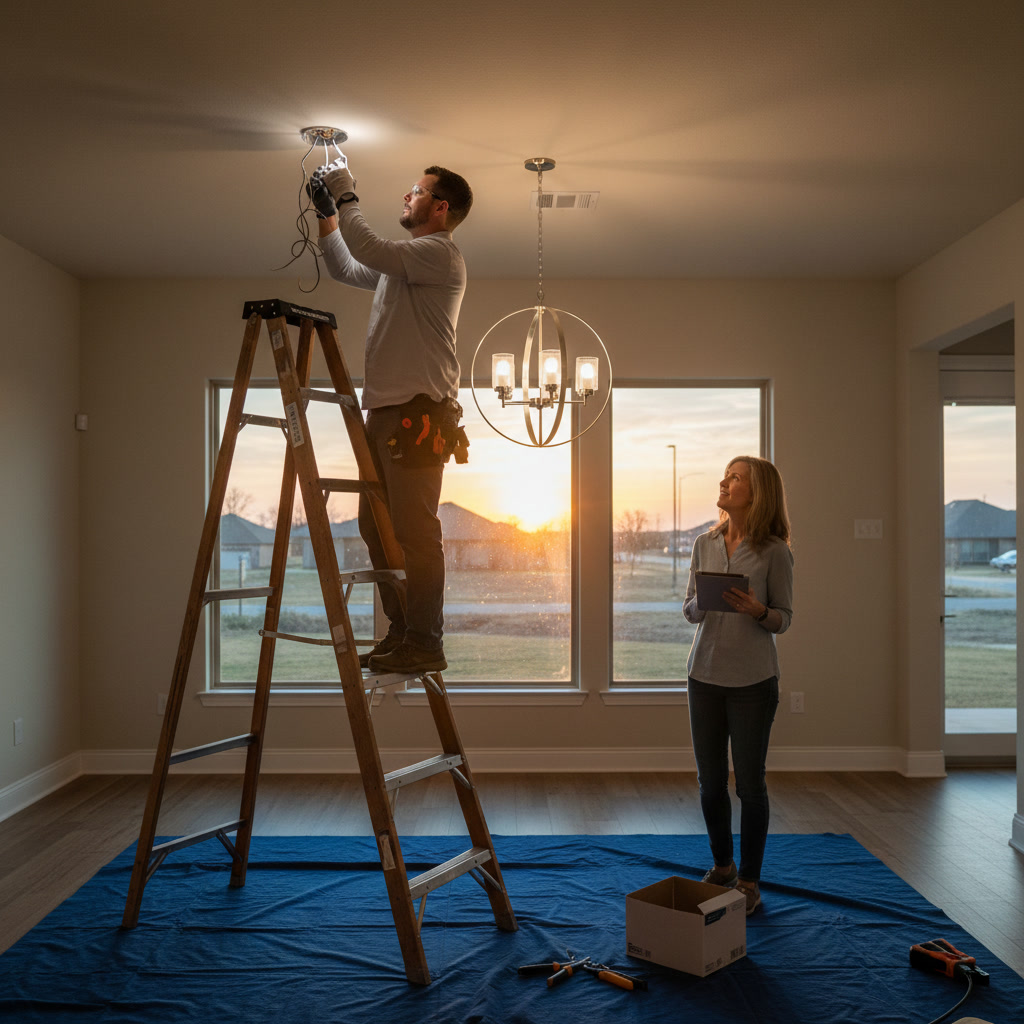
Before you start, collect a non-contact voltage tester, wire strippers, a Phillips and flathead screwdriver set, wire nuts in assorted sizes, electrical tape, a step ladder, and the new fixture with all included hardware. The voltage tester is non-negotiable for safety. It detects live current without touching bare wires, confirming that power is truly off even if you flipped the correct breaker.
Read the new fixture’s installation instructions thoroughly. Manufacturers often include specific mounting brackets or unusual hardware that differs from your old setup. If your new fixture is heavier than the old one, verify that the electrical box is rated to support the weight. Most standard ceiling boxes support up to 50 pounds, but older boxes may have lower limits or show signs of rust and deterioration that make them unsafe.
Step One: Turn Off Power and Verify
Locate your home’s electrical panel and switch off the breaker controlling the room where you’ll work. If breakers aren’t labeled, turn on the existing fixture, then flip breakers one at a time until the light goes out. Once you’ve identified the correct breaker, flip it off and place a piece of tape over it or leave a note so no one turns it back on while you’re working.
Return to the fixture and flip the wall switch to the on position. The light should remain off. Next, use your non-contact voltage tester on the fixture itself and on any visible wires once you remove the cover. Hold the tester near each wire without touching them. If the tester beeps or lights up, power is still present. Go back to the panel and turn off additional breakers until the tester confirms zero voltage.
Step Two: Remove the Old Fixture
Most ceiling fixtures attach with two screws that secure a canopy or base plate to the electrical box. Unscrew these fasteners and gently lower the fixture, supporting it with one hand. You’ll see three or more wires twisted together with wire nuts. Unscrew each wire nut counterclockwise and carefully separate the fixture wires from the house wires.
Some fixtures use quick-connect terminals instead of wire nuts. Press the release tab and pull the wire free. Once all connections are undone, set the old fixture aside. Inspect the electrical box for cracks, loose screws, or burn marks. If the box is damaged, replace it before installing the new fixture. A compromised box can’t support weight safely and may allow sparks to reach combustible materials inside the ceiling.
Step Three: Install the Mounting Bracket
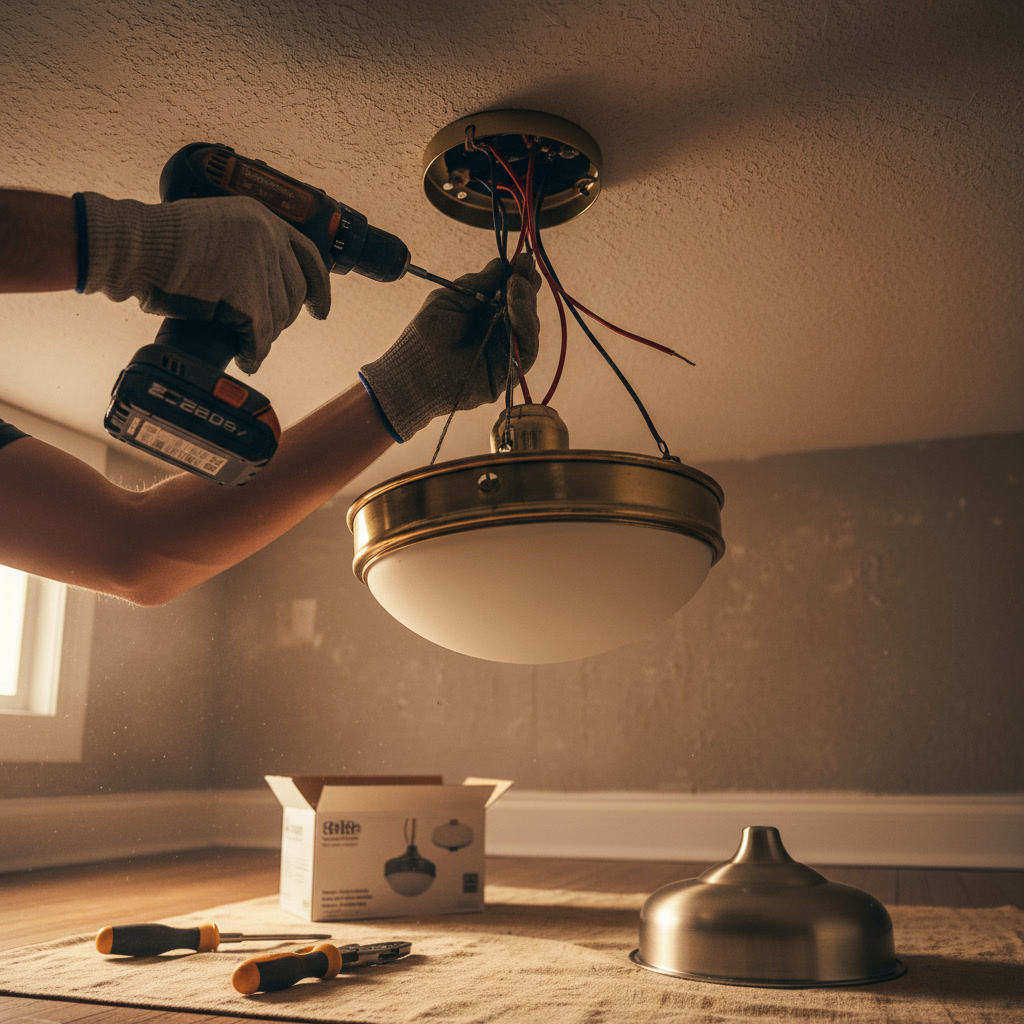
Your new fixture likely includes a metal crossbar or mounting strap that screws directly into the threaded holes in the electrical box. Align the bracket so any center hole lines up with where the fixture canopy will sit, then drive the screws in firmly. The bracket must sit flush against the ceiling. If it’s crooked or loose, the fixture will hang at an angle and stress the wiring connections.
Some modern LED fixtures use a twist-lock mounting system instead of screws. In these cases, attach the base plate to the box, then the fixture body locks into the base with a quarter turn. Follow the manufacturer’s diagram closely. Mixing up the order of parts is the most common mistake during this step.
Step Four: Connect the Wires
Start by stripping about half an inch of insulation from each wire end if it’s not already exposed. Twist the fixture’s ground wire (bare copper or green) together with the house ground wire and secure them with a wire nut, twisting clockwise until tight. Next, connect the white neutral wires the same way, then the black hot wires. If your fixture has a blue or red wire, it’s usually a second hot for a dimmer or fan. Cap it with the black house wire unless instructions say otherwise.
After twisting wires together, give each a firm tug to confirm the connection won’t pull apart. Wrap electrical tape around the base of each wire nut for added security, covering the nut and the top quarter inch of insulation. Fold the connected wires into the electrical box in a neat S-shape so they don’t get pinched when you push the canopy against the ceiling.
Step Five: Secure the Fixture and Test
Lift the fixture canopy over the wires and align it with the mounting bracket. Thread the decorative cap nuts or screws through the canopy into the bracket, tightening them evenly so the canopy sits flat. Install the bulbs specified in the fixture’s instructions. Using a higher wattage than recommended can overheat the fixture and create a fire hazard, while LEDs that aren’t dimmable may flicker or hum if connected to a dimmer switch.
Return to the electrical panel and turn the breaker back on. Flip the wall switch. The fixture should light immediately without flickering, buzzing, or dimming. If it doesn’t work, turn off the breaker again and double-check all wire connections. A loose neutral is the most common cause of a dead fixture. If everything looks correct but the light still won’t turn on, the fixture may be defective or you may need professional troubleshooting.

Common Mistakes and How to Avoid Them
Skipping the voltage tester is the most dangerous error. Even experienced electricians get surprised by mis-wired circuits or shared breakers. Always test before touching wires. Another frequent mistake is over-tightening screws on the fixture canopy, which can crack plastic components or strip threads in the mounting bracket. Snug is enough. You should feel resistance but not need to force it.
Using the wrong size wire nut causes loose connections that heat up and fail over time. Wire nuts are color-coded by capacity: yellow for two to three 14-gauge wires, orange for two to three 12-gauge, and red for larger bundles. If you’re unsure, check the package chart. One expert-level tip: before capping wires, hold them side by side and trim them so all ends are even. This ensures each wire seats fully inside the nut and makes solid contact.
Upgrading to Energy Efficient Lighting
Replacing an old fixture is the perfect time to switch to LED technology. LED bulbs use 75 percent less energy than incandescent bulbs and last 25 times longer, which means fewer replacements and lower utility bills. Some new fixtures come with integrated LEDs built into the unit, eliminating the need for bulb changes altogether. These fixtures typically last 50,000 hours, or roughly 15 years of typical use.
If you’re interested in broader energy savings throughout your home, pairing lighting upgrades with other improvements can compound the benefits. Energy Efficiency Solutions address insulation, air sealing, and HVAC performance to reduce overall energy consumption. Small changes like weather stripping and programmable thermostats add up quickly, especially in West Texas where temperature extremes drive heating and cooling costs.
How Professional Installation Saves Time and Reduces Risk
Licensed electricians carry liability insurance that protects you if something goes wrong during installation. They also stay current on National Electrical Code updates and local permit requirements, ensuring your new fixture meets all safety standards. In many municipalities, electrical work beyond simple fixture swaps requires a permit and inspection, and unpermitted work can complicate home sales or insurance claims after a fire.
Professionals complete installations faster because they’ve done hundreds of similar jobs. They bring specialized tools like fish tape for running wire through tight spaces, torque screwdrivers calibrated to manufacturer specs, and commercial-grade ladders that reach high ceilings safely. If your project involves recessed lighting, track systems, or smart home integration, the learning curve for DIY is steep and mistakes can be costly. Spectrum Heating & Air LLC offers handyman services that include fixture replacement, so you get reliable work without the hassle of coordinating multiple contractors.
Keeping Your Home Comfortable and Well Maintained
Replacing a light fixture is one of many small projects that keep your home functional and attractive. When you stay on top of routine maintenance, you prevent minor issues from becoming expensive emergencies. A flickering light today can turn into a tripped breaker or burned wire tomorrow if ignored. The same proactive mindset applies to your heating and cooling system, plumbing, and exterior elements.
Understanding how basic electrical work functions helps you make informed decisions about when to DIY and when to call a professional. You’ll save money on simple tasks while knowing your limits on complex or hazardous jobs. Whether you’re updating a single fixture or planning a whole-home refresh, the key is combining the right tools, clear instructions, and respect for electrical safety.
Spectrum Heating & Air LLC serves homeowners throughout Shallowater, Levelland, and the surrounding West Texas area with honest pricing and dependable workmanship. If you need help with fixture installation, wiring troubleshooting, or any handyman task that improves your home’s comfort and efficiency, reach out at +18062412335 to schedule service.